At risk of excommunication from the Potter family, I tinkered with the family cherry pie recipe. So far, I’ve lived to tell the tale.
Context: My mom is the Queen of Cherry Pies. Growing up, I remember eating cherry pies as part of summer cook-outs in our backyard, birthday parties with all our relatives, holidays … name the event, and there was cherry pie involved. Mom apparently tinkered with lots of different recipes as a newlywed before hitting on THE magic formula, which she has consistently and deliciously replicated for decades. Just last week, she says she made one because my dad “had a hankering.”
So, it is with some trepidation that I undertook Chez Thorburn-ifying the Potter family cherry pie recipe. But, as a well-educated person, I couldn’t just steal and attempt to pass off someone else’s work as my own. I had to do…something…original. So, here goes.
POTTER FAMILY CHERRY PIE (v2.0)
INGREDIENTS:
2 pie crusts for a 9-inch pie*
- I followed Smitten Kitchen’s all-butter pie crust recipe exactly; it works every time. More info in 2nd half of post.
Filling:**
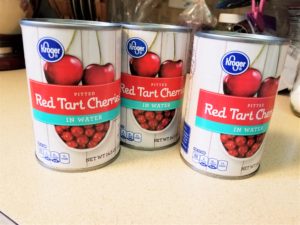
- 3 cans (c. 5 cups drained) tart cherries
- 1 cup sugar
- 1.5 Tbsp cornstarch + 1.5 Tbsp quick-cook tapioca
- 1 Tbsp lemon juice
- 1/2 tsp almond extract
- dash of cinnamon [you bet I used Penzey’s]
Other:***
- 1 beaten egg + 1 Tbsp water for egg wash
- 2-3 Tbsp butter, in small cubes (optional)
- sugar for sprinkling
*For a true Potter family cherry pie, use pre-made Pillsbury crusts. These will save you much time and cholesterol, since there is no way they are composed of 2 sticks of butter like the Smitten Kitchen all-butter crust.
**Filling is essentially Mom’s recipe. I replaced some of the tapioca with cornstarch and upped the amount of lemon juice. That’s it.
***Egg wash is also my contribution. If you prefer to keep it simple, just sprinkle cinnamon/sugar on top and omit the egg wash.
INSTRUCTIONS:
1. Make pie crusts. Follow Smitten Kitchen‘s directions exactly, and you cannot go wrong. Or read my synopsis in the second half of this post.
Pie crust dough will need to chill in fridge for 2+ hours, so do this well in advance.
2. Heat oven to 375 F. [This is also a modification from Mom’s recipe, which calls for 50 minutes @ 425 F. Since I’m using an all-butter crust, I was afraid it would burn @ 425. So, use lower heat for a little longer.]
3. Make filling right before rolling out pie crusts by mixing all filling ingredients together gently in a large bowl. Let sit while you roll out crusts.
4. Roll out one disc of pie crust dough to a 12-inch circle. Transfer to a 9-inch pie pan. It should have c. 1 inch overhang over the rim. Place the pie pan with bottom crust in fridge to keep cold.
5. Roll out the top crust, also to a 12-inch circle. Here is where you can choose to:
- Make a lattice [see this video for helpful guidance].
- Leave as-is.
6. Spoon filling into bottom crust. If topping with an intact (non-latticed) top crust, distribute cubes of butter evenly on surface of filling. Then lay the top crust on top. If using lattice, omit the butter, and arrange lattice artfully.
7. Tuck 1″ overhang of both bottom and top crust together into rim of pie pan. Flute the edges with your fingers [here’s another good video].
8. Brush top crust with egg wash and sprinkle with sugar. If top crust is intact, cut small vents with a sharp knife.
9. Bake at 375 F for c. 75 minutes. About halfway to 2/3 of the way through baking time, check to see if crust perimeter is browning too much. Place foil or a pie crust guard on top to keep it from burning. Pie is done when crust is golden brown and filling is bubbly.
10. Cool for 2+ hours on a wire rack.
Once the filling is set and not runny, enjoy the pie! (especially à la mode!)
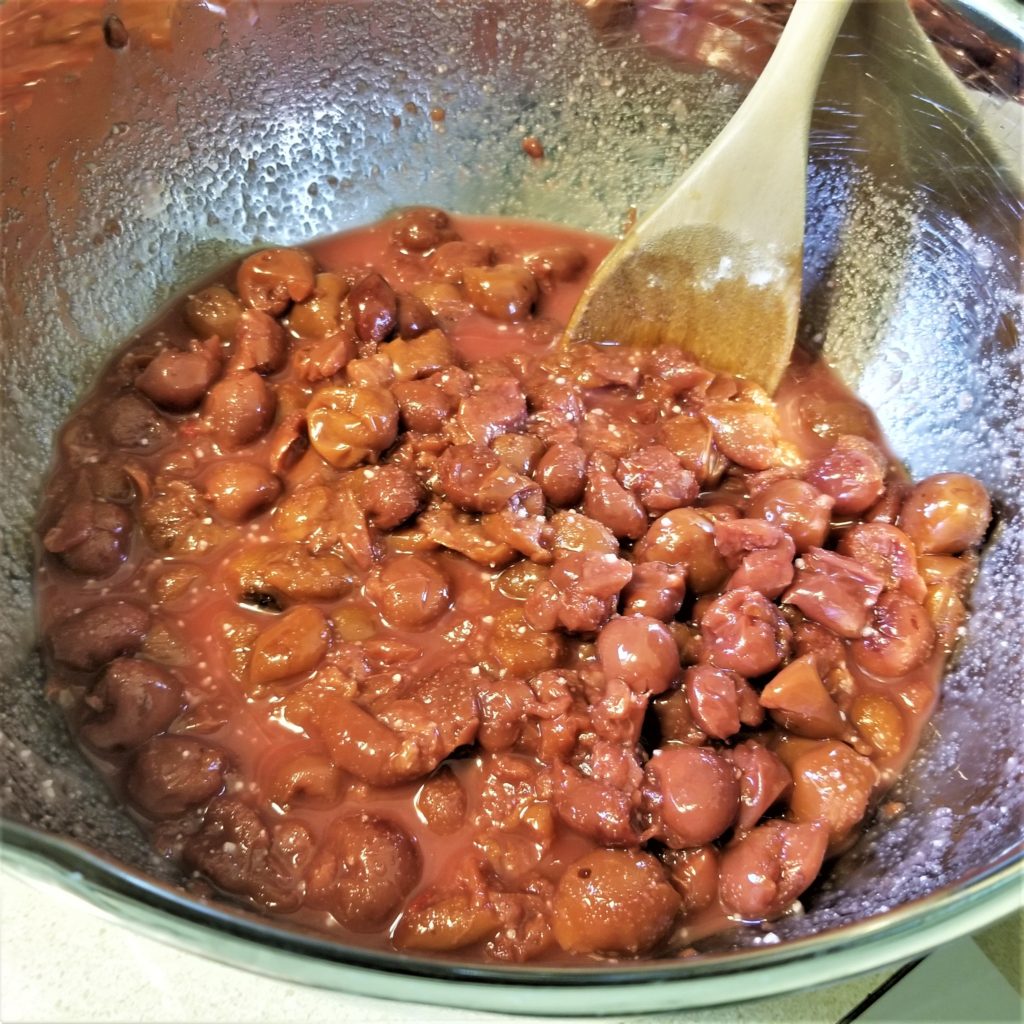
Cherry pie filling. 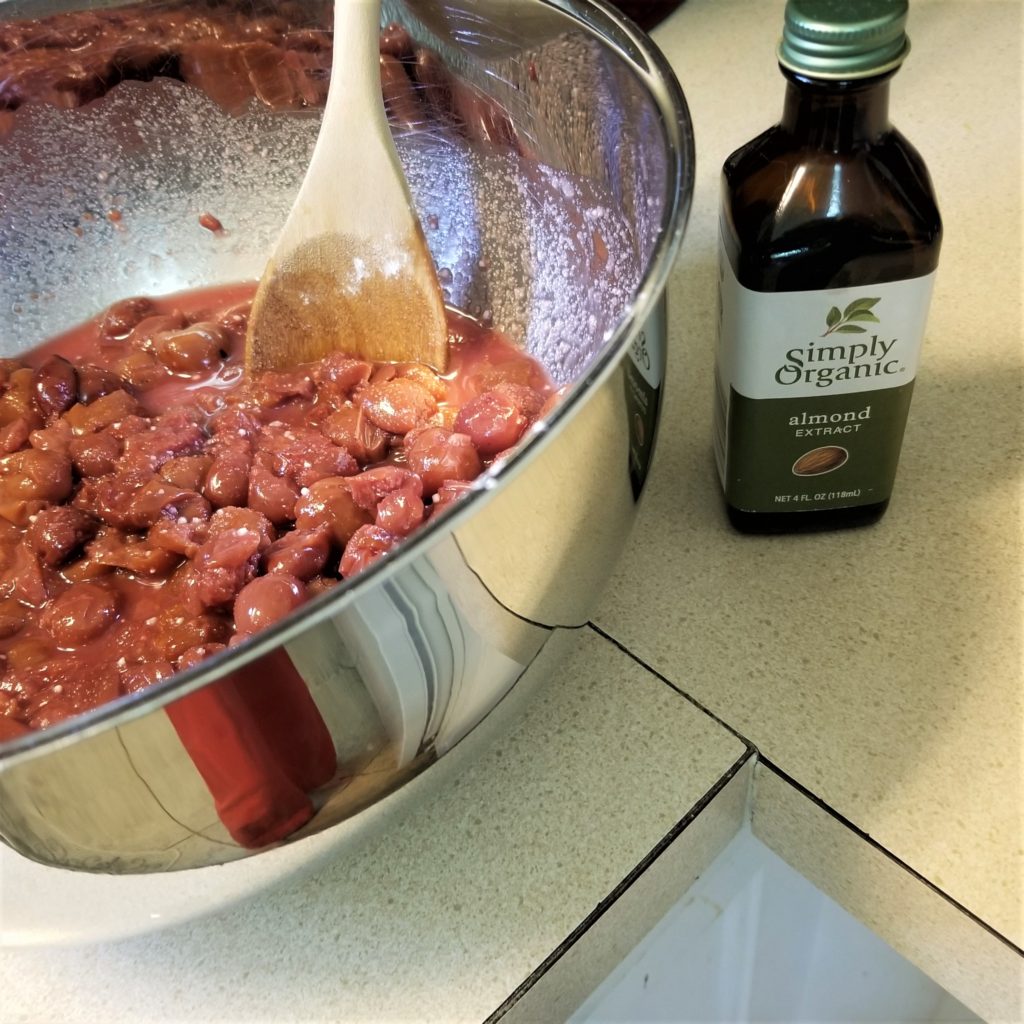
Almond extract is the secret weapon that makes this filling taste incredible. 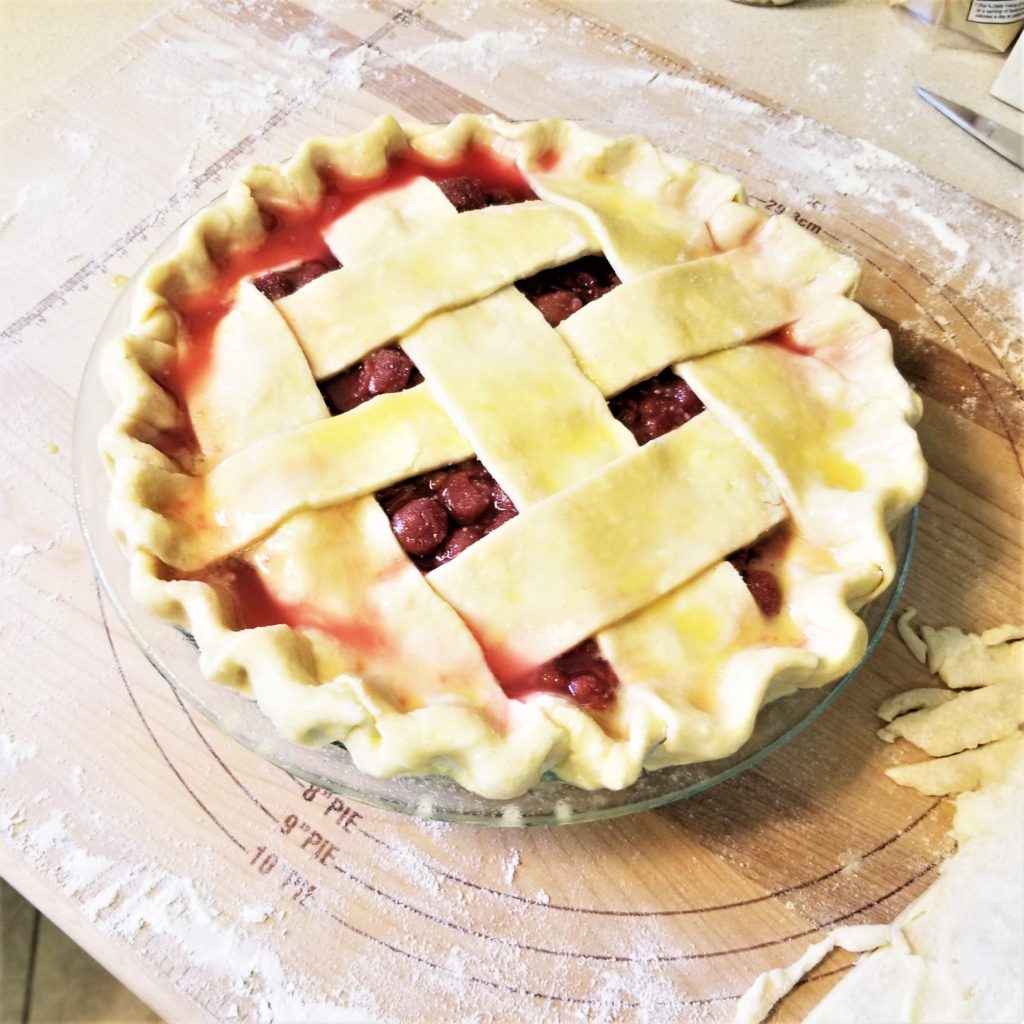
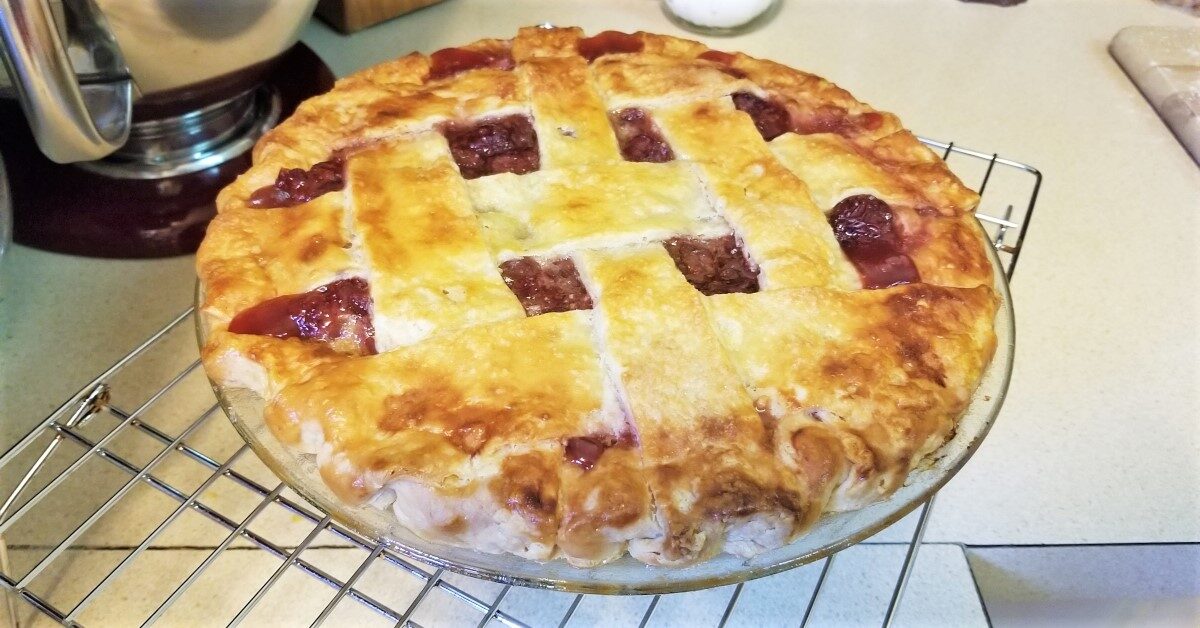
Thick lattice crust, tucked into rim and fluted. 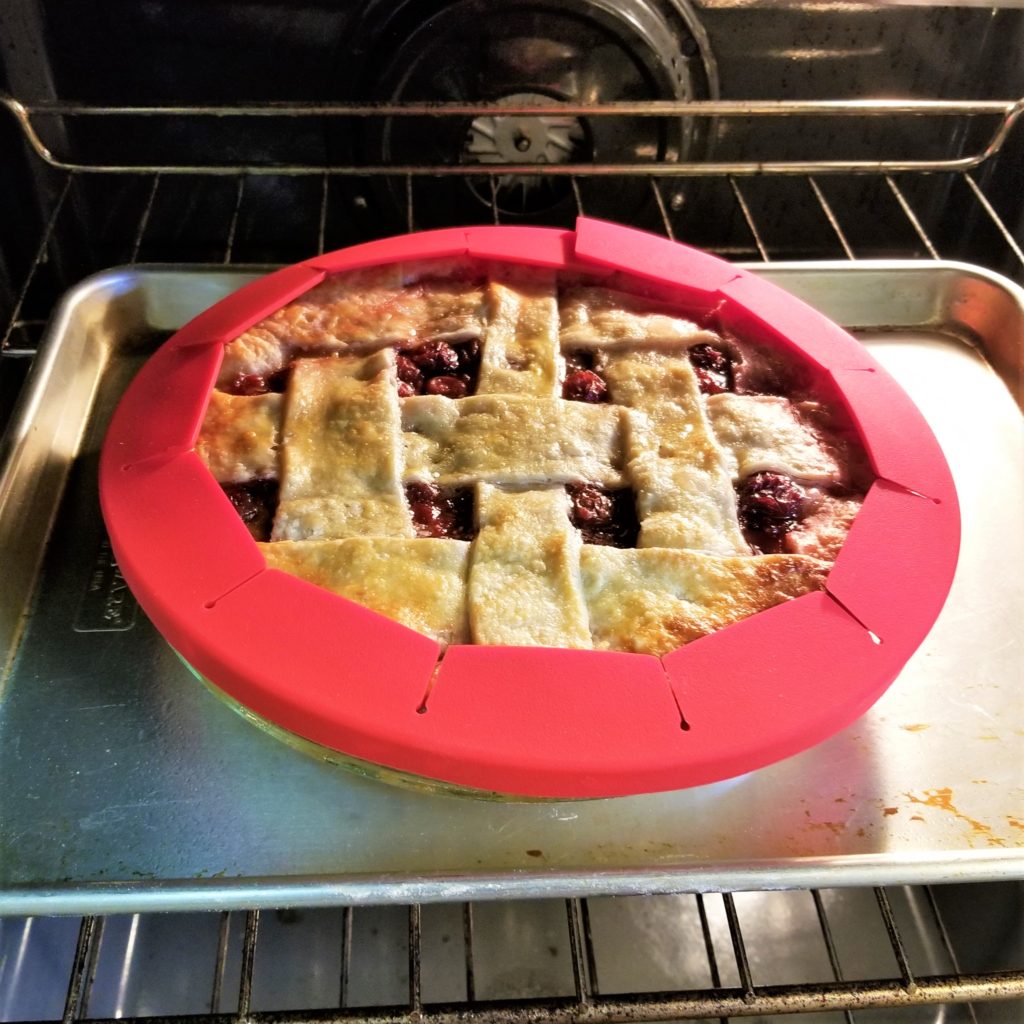
Pie rim guard was called into duty halfway through baking. 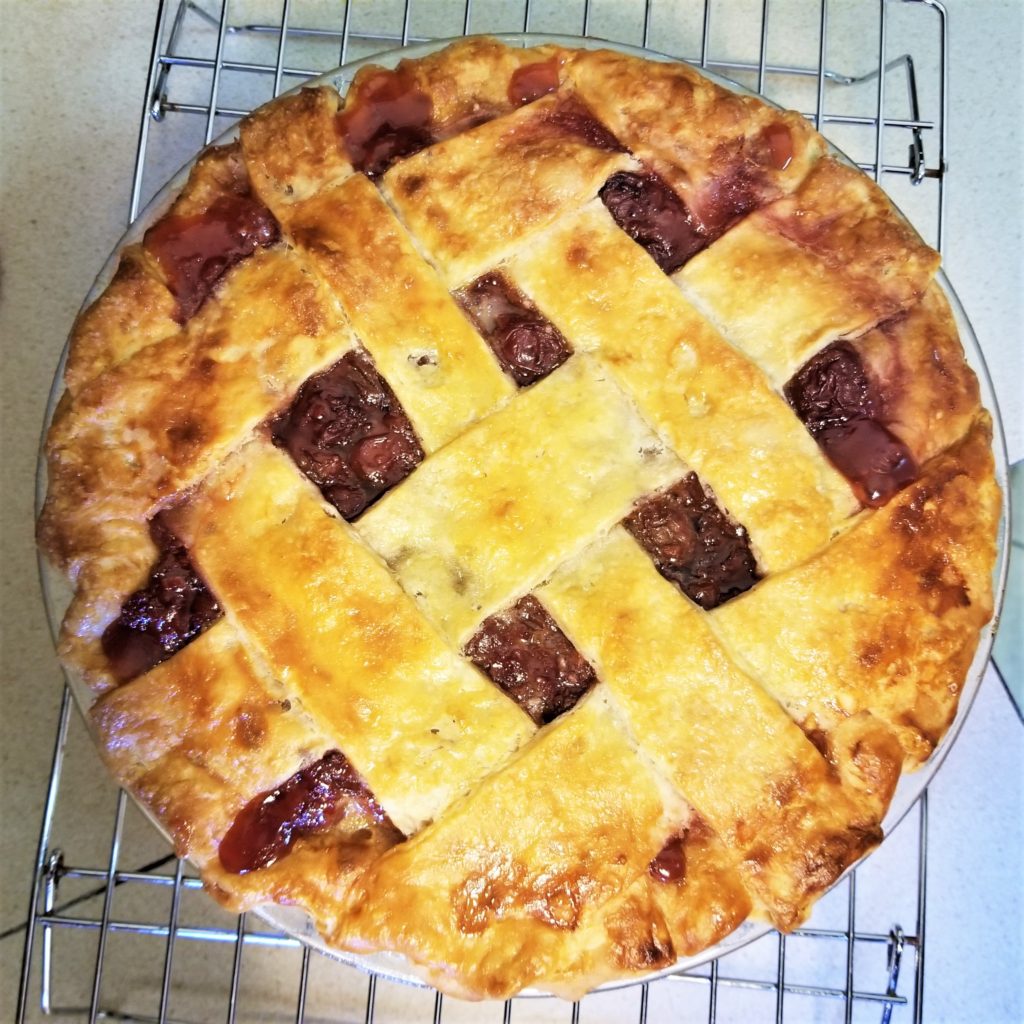
Piping hot cherry pie! 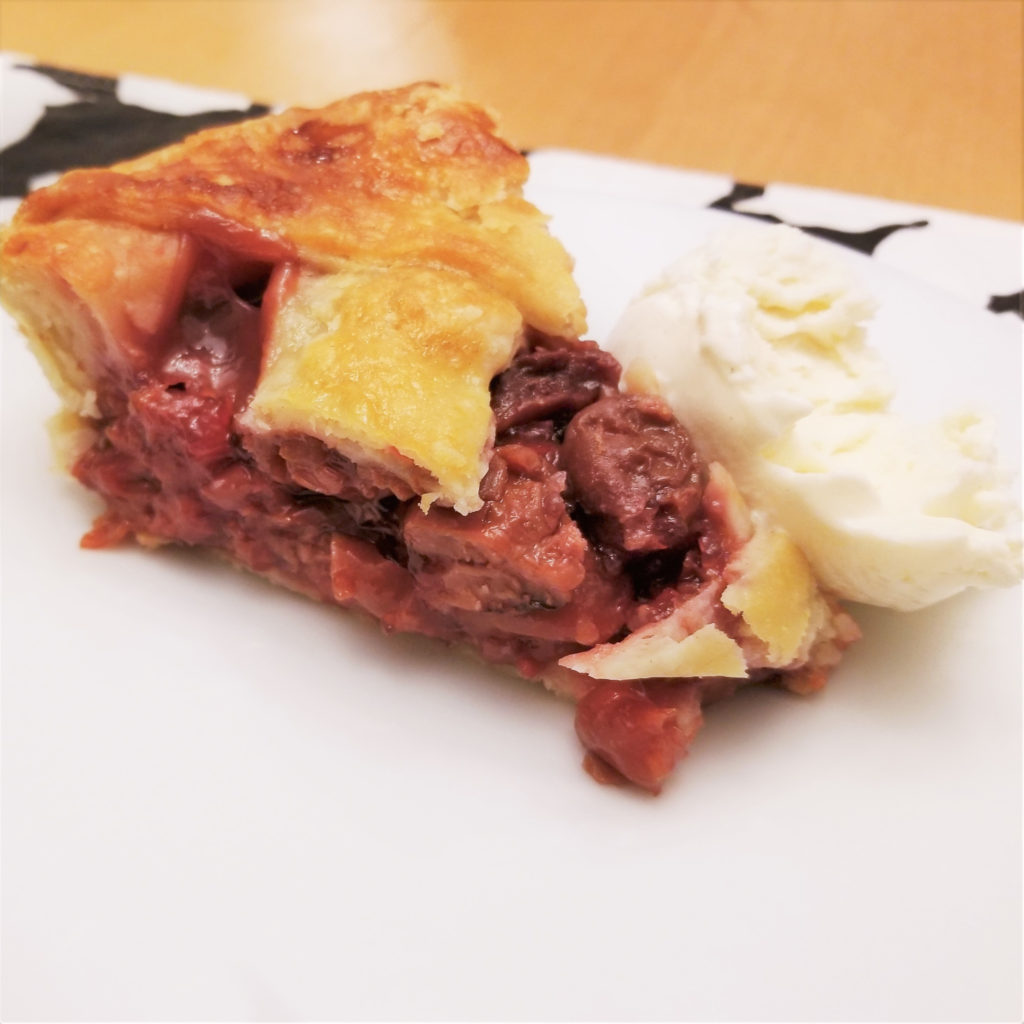
Does this even need a caption.
If you’ve never done this before, PLEASE follow Smitten Kitchen’s post for the most thorough, and entertaining, instructions. If you basically know what you’re doing, then here is my summary:
INGREDIENTS:
- 2 1/2 cups flour
- 1 Tbsp sugar
- 1 tsp salt
- 2 sticks butter, cut into small cubes, kept cold in fridge
- 1 cup of ice water (literally, water with ice in it). Keep a 1/2 cup and 1 Tbsp measure handy
INSTRUCTIONS:
1. Whisk together flour, salt, and sugar in a large bowl.
2. Using a pastry blender, blend the butter into the dry ingredients until it is pea-sized. Don’t stress if there are some large-ish bits. The mixture should not be as uniform as cornmeal, not even coarsely-ground cornmeal.
3. Add 1/2 cup of the iced water (minus ice) and stir with a wooden spoon or silicone spatula until the pie dough starts to come together. I had to add 1/4 cup more water, but I added it 1 Tbsp at a time like Smitten Kitchen instructs.
4. Using your hands, gently knead dough to bring it together into a big dough ball, then divide it into two equal balls, flatten into discs, place each disc in plastic wrap, and chill them in the fridge for 2 (or more) hours.
TO ROLL OUT CRUSTS:
1. Prepare a countertop surface or very large cutting board. I have a wooden pastry board just for this purpose.*
- Sprinkle flour liberally on surface, have extra flour handy for sprinkling, and grab your rolling pin.
- If your home is very hot or humid, consider also having a metal baking pan prepped in the freezer. That way, if the dough gets too soft and sticky as you’re rolling it out, you can “put it on pause” by sticking it in the freezer for a few minutes. Then, take it out and resume rolling it.*
*Thanks to my mother-in-law, who makes the most AMAZING pie crusts, taught me how to make them, and gave me this pastry board as a gift!
**I always had problems like this before we lived in our current, air-conditioned house. (Yes, the first 6 years of Chez Thorburn were sans A/C! And 3 of them were also sans dishwasher! Oooohh, the memories.)
2. Place 1 disc of pie dough on prepped and floured surface. Roll it out a little, always from the center outward. Remove, re-flour surface, turn the dough upside down, re-flour the top, then continue. After the crust has reached 2/3 of its final size, you can probably stop flipping it. Finish rolling it out to its final 12-inch size, continuing to flour the edges and rolling pin as needed.
3. To transfer to pie pan, all I had to do was fold the crust gently in half; it hadn’t stuck to the board, at all. If some of it sticks, you can use a thin metal spatula or scraper to gently ease it off. Or use the freezer trick to re-solidify the crust. But, I never have that problem with this dough. Some people swear by rolling the dough around the rolling pin. And some fold it into quarters. Do what you need to and what works for you.
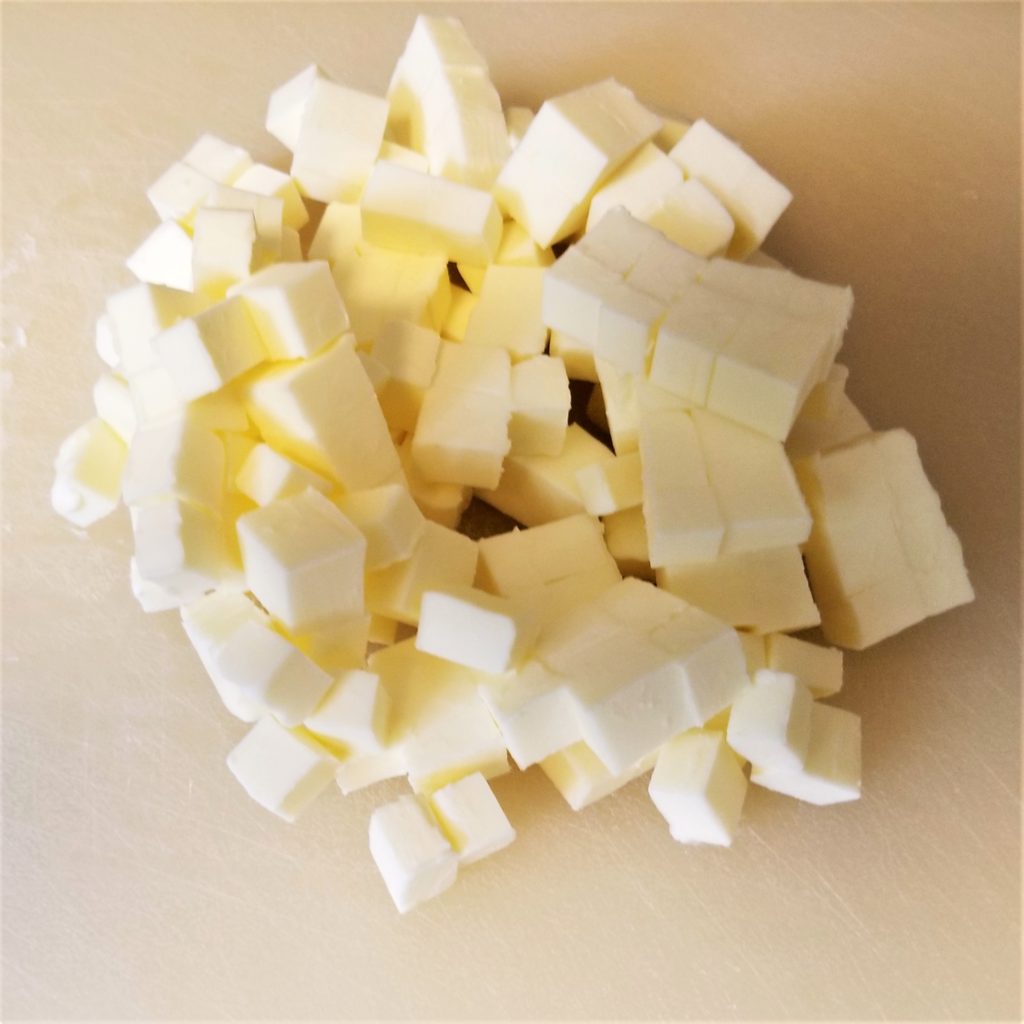
2 sticks of cubed butter. 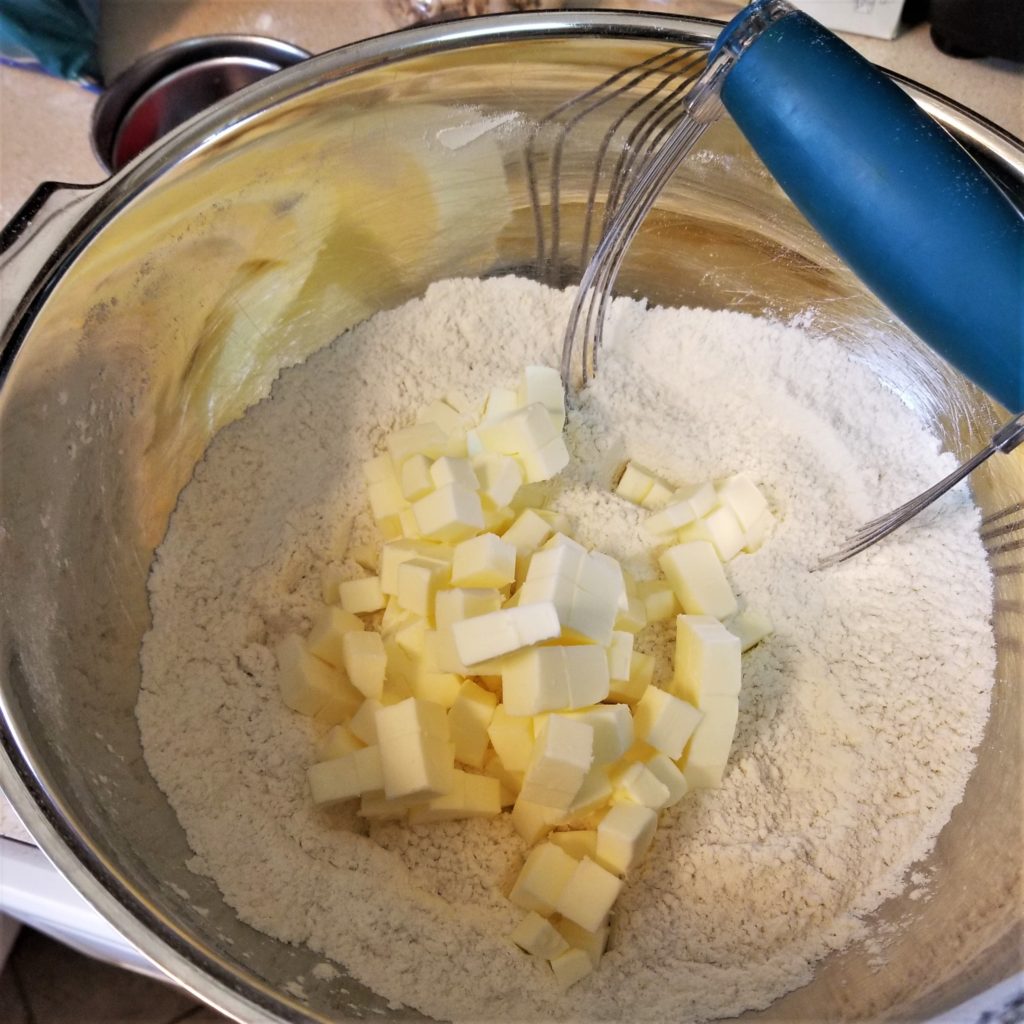
Blend the butter cubes into the dry ingredients with a pastry blender. 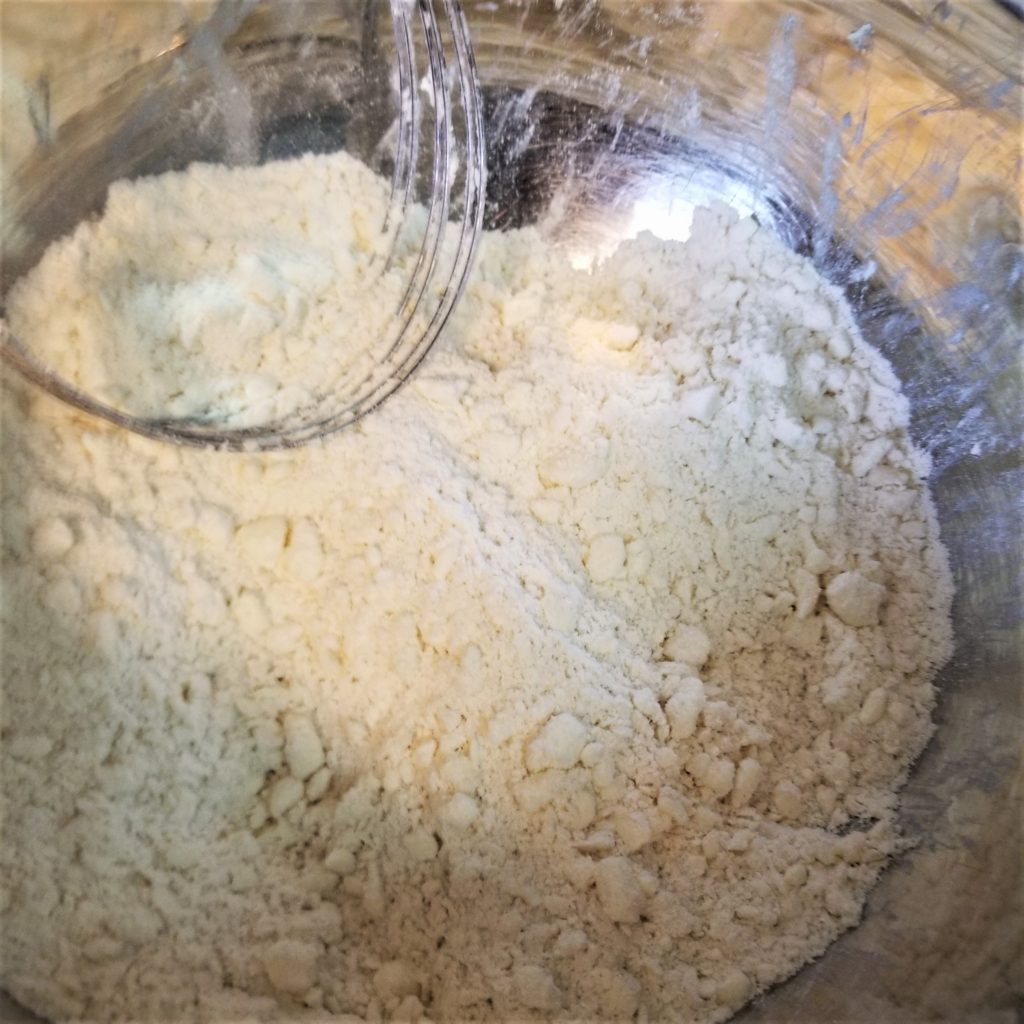
Pea-sized chunks of butter are still evident, and that’s all right. 
The dough starts coming together like this when water is added. 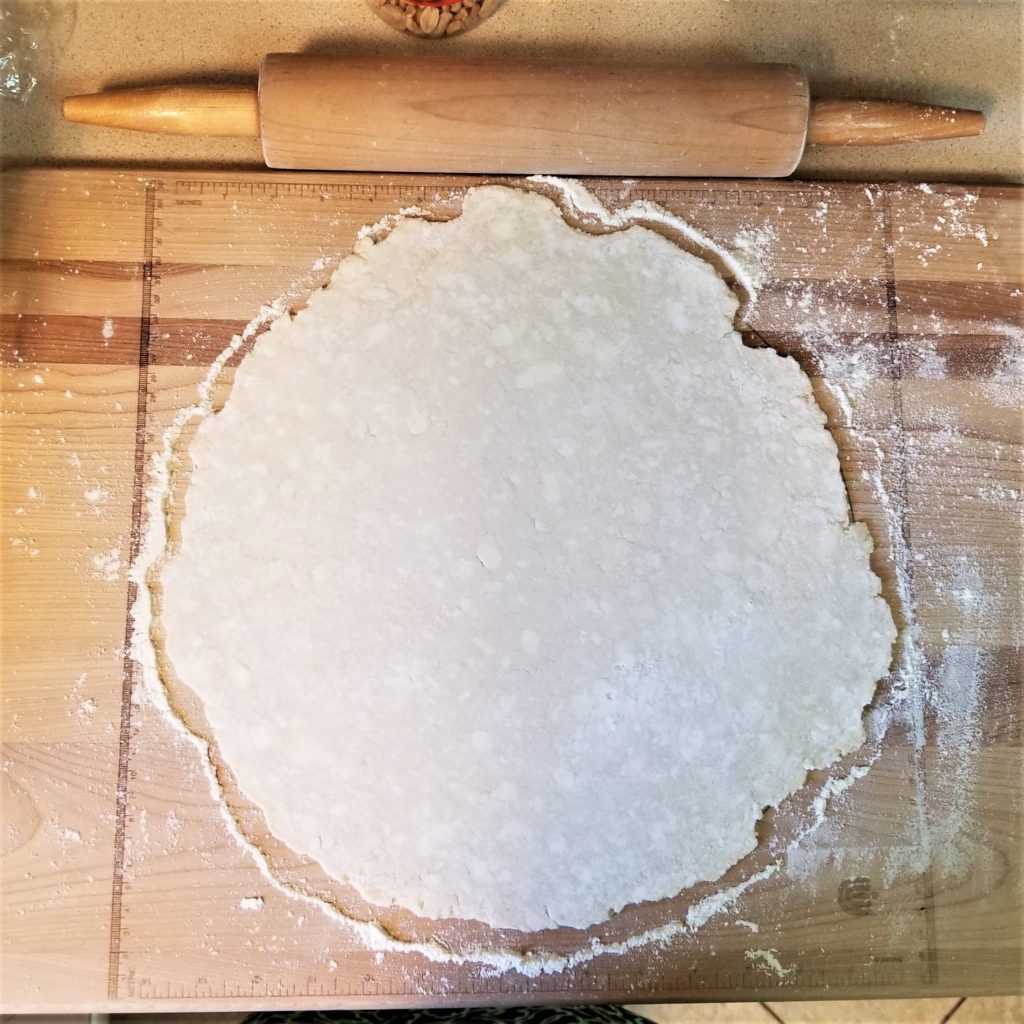
Forgot to take a photo of the discs of dough in plastic wrap, but this is what one looks like rolled out.